
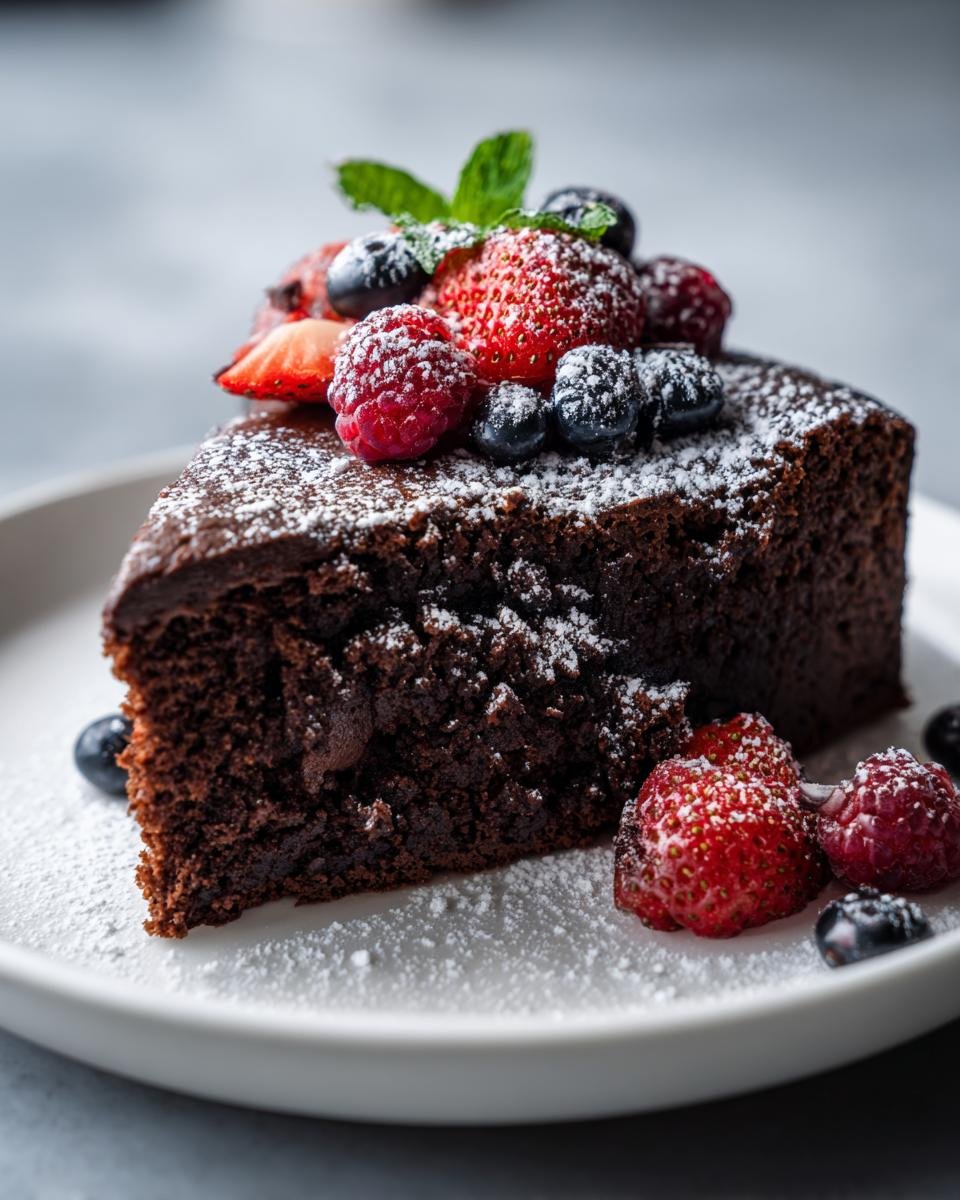
You know that feeling when you bring out a dessert, and everyone at the table stops mid-conversation just to stare? That’s the magic of dessert aesthetic—where taste and beauty collide. I still remember the first time I nailed it: a simple chocolate cake dusted with powdered sugar and topped with fresh raspberries. My sister gasped, my mom snapped pictures, and suddenly, dessert wasn’t just dessert—it was an experience. Whether you’re baking for Instagram or just your family, mastering that wow-factor presentation is easier than you think. Trust me, once you start paying attention to the little details, you’ll never serve a plain slice again!
Why You’ll Love This Dessert Aesthetic Recipe
This recipe is my go-to when I want something that wows without the stress. Here’s why it’s a winner:
- Effortless elegance: Simple ingredients transform into something stunning—no fancy skills needed.
- Instant crowd-pleaser: That rich chocolate flavor paired with gorgeous presentation? Guaranteed applause.
- Playtime for creativity: Top it with berries, edible flowers, or a drizzle—every bake feels like an art project.
Seriously, it’s the dessert that looks like you fussed for hours (we’ll keep your secret).
Ingredients for the Perfect Dessert Aesthetic
Here’s what you’ll need to create this showstopper:
- 1 cup packed all-purpose flour
- 1/2 cup granulated sugar
- 1/4 cup sifted cocoa powder (use high-quality for that deep, rich color!)
- 1 tsp baking powder
- 1/2 tsp salt
- 1/2 cup whole milk
- 1/4 cup vegetable oil
- 1 large egg
- 1 tsp pure vanilla extract
It’s a short list, but every ingredient plays a big role in making this dessert as beautiful as it is delicious.
Essential Equipment for Dessert Aesthetic Baking
You don’t need fancy gadgets—just these basics:
- Mixing bowls (one for dry, one for wet ingredients)
- Whisk (or fork in a pinch!)
- 8-inch round or square baking pan (the prettier the pan, the prettier the edges)
That’s it! Now let’s make something gorgeous.
How to Make This Dessert Aesthetic Step-by-Step
Okay, let’s turn those simple ingredients into something Instagram-worthy! Here’s exactly how I do it, with all the little tricks I’ve learned over the years:
- Preheat your oven to 350°F (175°C). Trust me, you want that oven hot and ready – no rushing this step! While it heats, lightly grease your baking pan with butter or non-stick spray. For extra insurance, line the bottom with parchment paper.
- Whisk together the dry ingredients. In your first bowl, combine the flour, sugar, sifted cocoa powder, baking powder, and salt. Sifting matters here – it keeps lumps out and gives that smooth, elegant texture we’re after.
- Mix the wet ingredients separately. In your second bowl, whisk together the milk, oil, egg, and vanilla until they’re completely combined. Watch how the vanilla swirls into the milk – that’s when you know it’s ready!
- Combine everything gently. Pour the wet ingredients into the dry ingredients and stir just until the batter comes together. A few small lumps are fine – overmixing makes tough cakes! The batter should pour smoothly like melted chocolate.
- Bake for 25 minutes. Pour the batter into your prepared pan and slide it into the oven. Set a timer – we want that perfect moist crumb, not dry cake! It’s done when the edges pull away slightly and a toothpick comes out with moist crumbs (not wet batter).
- Cool completely before decorating. This is the hardest part – waiting! But rushing this means your beautiful toppings will melt right off. Let it cool in the pan for 10 minutes, then transfer to a wire rack.
See? Easy as… well, cake! Now comes the fun part – making it look as good as it tastes.
Pro Tips for the Best Dessert Aesthetic
Here are my tried-and-true secrets for making this dessert look as incredible as it tastes:
- Splurge on good cocoa powder – The deep color makes all the difference visually
- Fold, don’t beat – Gentle mixing keeps the crumb tender and smooth
- Rotate halfway – Ensures even browning for picture-perfect edges
- Cool completely – Warm cake melts toppings into a messy puddle
Follow these, and you’ll have people convinced you went to pastry school!
Decorating Ideas to Elevate Your Dessert Aesthetic
Now comes my favorite part—the decorating! Here’s how I make this simple cake look straight out of a bakery case:
- Berry starburst: Arrange fresh raspberries or strawberries in a spiral pattern—so simple yet stunning.
- Powdered sugar snowfall: Use a fine-mesh sieve to dust the top lightly (tap the side for perfect coverage).
- Edible flower confetti: Press pansies or violets into the surface for instant garden-party vibes.
- Chocolate drizzle: Melt chocolate with a bit of oil and zigzag it across the top with a spoon.
Pro tip: Snap photos quickly—these beauties disappear fast!
Serving Suggestions for Your Dessert Aesthetic
This cake shines all on its own, but here’s how I love to serve it for maximum wow-factor: with a dollop of barely-sweetened whipped cream, a scoop of vanilla bean ice cream melting slowly over the top, or alongside a strong espresso. The contrast of warm cake and cold cream? Absolute magic.
Storing and Reheating Your Dessert Aesthetic
This beauty stays fresh in an airtight container at room temp for 2 days (if it lasts that long!). For longer storage, pop it in the fridge—just bring it back to room temp before serving to keep that perfect texture. Want it warm? A quick 10-second microwave zap brings back that just-baked magic!
Dessert Aesthetic Nutritional Information
Let’s be real—we’re here for indulgence, not calorie counting! But since you asked, here’s what you should know: nutritional values are always estimates and can vary based on your specific ingredients and portion sizes. That said, this dessert balances richness with moderation—it’s portioned perfectly for savoring every beautiful bite. If you’re curious about substitutions (like almond flour or coconut sugar), just know they’ll tweak the numbers slightly. My philosophy? Life’s too short not to enjoy dessert—especially when it looks this gorgeous!
Frequently Asked Questions About Dessert Aesthetic
I get so many questions about this recipe—here are the ones that pop up most often:
Can I substitute the cocoa powder with melted chocolate?
You can, but it changes the texture! Use 3 oz melted dark chocolate (cooled slightly) and reduce the oil to 2 tbsp. The cake will be richer but might not rise as high—still delicious, just different.
Help! My cake stuck to the pan—how do I salvage the presentation?
Don’t panic! Carefully patch any tears with whipped cream or frosting, then cover strategically with berries. I’ve “glued” many cakes back together this way—no one will know!
Can I make this ahead for a party?
Absolutely! Bake it the day before, wrap tightly in plastic, and decorate 1-2 hours before serving. The flavors actually improve overnight.
Any tips for clean slices?
Dip your knife in hot water between cuts—it glides through like butter, leaving those picture-perfect edges everyone loves.
Share Your Dessert Aesthetic Creations
I’d love to see your masterpiece! Snap a photo and share it in the comments—let’s inspire each other!
Print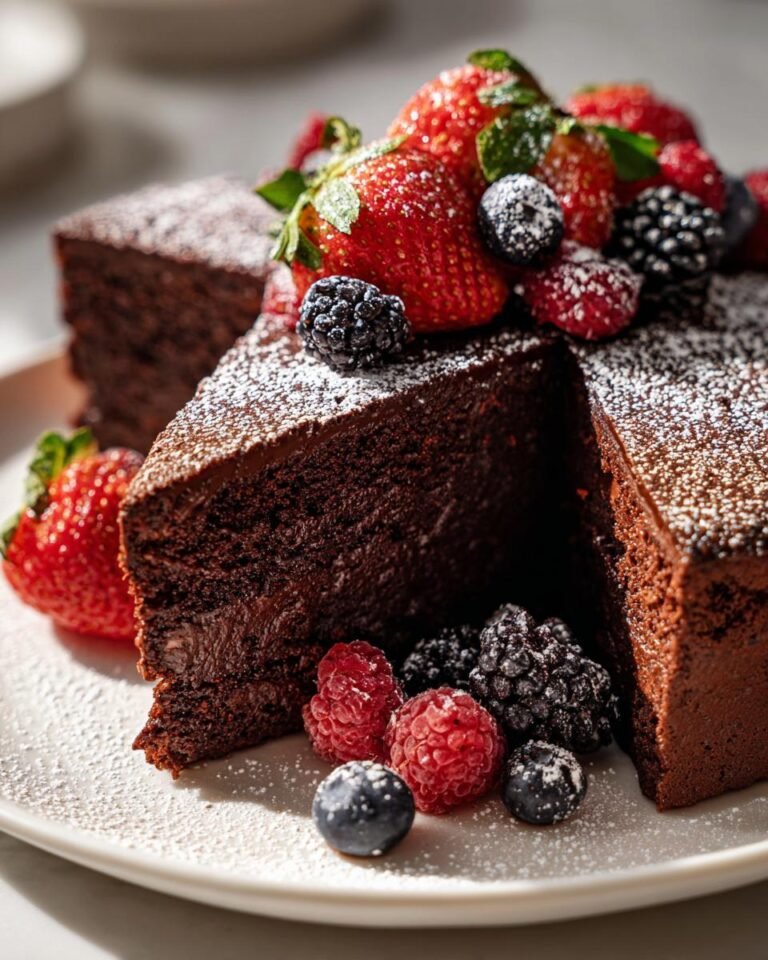
1 Perfect Dessert Aesthetic Recipe to Wow Your Guests Instantly
A visually appealing dessert that combines taste and presentation.
- Total Time: 35 minutes
- Yield: 8 servings 1x
Ingredients
- 1 cup flour
- 1/2 cup sugar
- 1/4 cup cocoa powder
- 1 tsp baking powder
- 1/2 tsp salt
- 1/2 cup milk
- 1/4 cup vegetable oil
- 1 egg
- 1 tsp vanilla extract
Instructions
- Preheat oven to 350°F.
- Mix dry ingredients in a bowl.
- Add wet ingredients and stir until smooth.
- Pour batter into a greased pan.
- Bake for 25 minutes.
- Let cool before serving.
Notes
- Use high-quality cocoa for better flavor.
- Decorate with fresh berries for an aesthetic touch.
- Serve with whipped cream or ice cream.
- Prep Time: 10 minutes
- Cook Time: 25 minutes
- Category: Dessert
- Method: Baking
- Cuisine: International
- Diet: Vegetarian
Nutrition
- Serving Size: 1 slice
- Calories: 250
- Sugar: 20g
- Sodium: 150mg
- Fat: 10g
- Saturated Fat: 3g
- Unsaturated Fat: 6g
- Trans Fat: 0g
- Carbohydrates: 35g
- Fiber: 2g
- Protein: 4g
- Cholesterol: 30mg
Keywords: dessert aesthetic, chocolate cake, baking