You know those nights when you need something sweet, but the thought of measuring a million ingredients makes you want to collapse on the couch? Me too. That’s why I’m obsessed with this dessert facile et rapide—it’s my go-to when time (or energy) is short. Five minutes of mixing, one bowl, and boom: warm, chocolatey goodness in under 30 minutes. I’ve made this after work, during toddler meltdowns, even mid-Zoom call (don’t judge). Trust me, if I can pull it off while balancing a baby on my hip, you’ve got this. The best part? No fancy skills required—just stir, bake, and bask in the glory of dessert saved.
Why You’ll Love This Dessert Facile et Rapide
Listen, I know a good shortcut when I see one, and this recipe is the ultimate dessert hack. Here’s why it’s never failed me:
- Pantry superhero: Flour, sugar, cocoa—you probably have everything right now. No last-minute store runs.
- One-bowl wonder: I use the same bowl for mixing dry and wet ingredients because who wants a sink full of dishes?
- Faster than takeout: From craving to first bite in 30 minutes flat (yes, I’ve timed it during desperate snack emergencies).
- Foolproof texture: No dense bricks here—just tender, moist cake every time, even if you overmix a little (we’ve all been there).
- Crowd magic: Serve it warm with ice cream, and suddenly you’re the host who “whipped something up.” No need to mention it took less effort than microwaving popcorn.
This is the dessert I make when I want to feel like a baking rockstar without actually being one. And honestly? It tastes way fancier than it has any right to.
Ingredients for Dessert Facile et Rapide
Here’s the beautiful part—you only need eight simple ingredients, and I bet most are already in your pantry right this second. The kind of stuff you can grab without even thinking. But don’t let simplicity fool you; these humble players transform into something magical:
- 1 cup all-purpose flour (spoon it lightly into the cup and level it off—no packing! This isn’t snow)
- 1/2 cup sugar (regular granulated works perfectly, though brown sugar adds a fun caramel twist)
- 1/4 cup cocoa powder (use natural unsweetened—none of that fancy Dutch-process stuff unless you’re feeling extra)
- 1/4 teaspoon salt (just a pinch to make the chocolate sing)
- 1/2 teaspoon baking powder (check yours isn’t older than your last birthday—stale powder equals sad flat cake)
- 1/4 cup vegetable oil (or melted coconut oil if you want to pretend it’s healthy)
- 1 teaspoon vanilla extract (the real stuff, please—imitation vanilla and I aren’t on speaking terms)
- 1 cup water (room temp is ideal—cold water makes the batter grumpy and harder to mix)
See? Nothing weird or obscure. I’ve made this with half-forgotten cocoa from the back of my cupboard and it still worked like a charm. Now grab that one mixing bowl you didn’t put in the dishwasher yet—we’re doing this.
How to Make Dessert Facile et Rapide
Okay, let’s get to the fun part—turning those simple ingredients into chocolatey magic. I promise, if you can stir a bowl without spilling (too much), you’re already halfway there. Here’s exactly how I do it every single time:
Step 1: Prep the Batter
First things first—preheat that oven to 350°F (175°C). Trust me, you don’t want to be staring at ready-to-bake batter while your oven slowly wakes up. While it heats, grab your trusty mixing bowl (no need to break out the stand mixer—this is a lazy baker’s dream).
Whisk together all your dry ingredients—flour, sugar, cocoa powder, salt, and baking powder—until they look like a cozy little chocolate sand dune. No lumps allowed! Now pour in the oil, vanilla, and water all at once. Stir just until the batter comes together—about 30 seconds with a wooden spoon. A few tiny lumps are fine; overmixing is the enemy of tender cake. The batter should look like thick chocolate milk—pour-able but not watery.
Step 2: Bake to Perfection
Pour that beautiful batter into your greased baking dish (I use an 8×8 square pan, but a round cake pan works too—just adjust the bake time). Smooth the top with the back of your spoon like you’re frosting it with air.
Slide it into your preheated oven and set a timer for 20 minutes. At this point, resist the urge to open the oven door—let that heat work its magic! When the timer goes off, poke the center with a toothpick. If it comes out with a few moist crumbs clinging to it, you’re golden. If it’s still wet, give it another 3-5 minutes. But watch it like a hawk—nothing sadder than overbaked chocolate cake!
Pull it out when the edges look set and the center springs back lightly when touched. Let it cool for at least 10 minutes (if you can wait that long) before diving in. The smell alone will have your neighbors knocking on the door.
Tips for the Best Dessert Facile et Rapide
Okay, here’s where I spill my little secrets—the tricks I’ve learned after making this dessert way too many times (not that I’m complaining). These small tweaks take it from “good” to “where has this been all my life?” territory:
- Room temp is your friend: I know it’s tempting to use cold water straight from the tap, but room-temperature water mixes in way smoother. No weird clumps of flour hiding in your batter!
- Grease with flair: That baking dish needs love too. I use the butter wrapper I just opened to grease the pan—zero waste and the perfect amount. For extra insurance, dust it with a pinch of cocoa powder instead of flour.
- Timing is everything: Set your timer for 20 minutes, but start checking at 18. Every oven lies a little, and mine runs hot. The second that toothpick comes out with just a few moist crumbs? Pull it—the residual heat will finish the job.
- Double down: This recipe doubles beautifully in a 9×13 pan (just add 5 minutes to the bake time). Perfect for potlucks or when your sweet tooth invites friends.
And my golden rule? Always, always lick the spoon. It’s the baker’s reward for a job well done.
Variations for Dessert Facile et Rapide
Okay, here’s where we get to play! This recipe is like your favorite little black dress—dress it up or down however you like. I’ve tried all these twists over the years, and honestly? They all work like a charm. My kids beg for the chocolate chip version every Sunday.
Mix-Ins That Make It Special
Feeling fancy? Just before pouring the batter, fold in any of these:
- Chocolate chips (duh)—I use a whole handful because more is more when it comes to chocolate
- Chopped nuts (walnuts or pecans add the perfect crunch)
- Mini marshmallows (they get all gooey and amazing—just like s’mores)
- Dried cherries or raspberries (that tart pop cuts through the sweetness beautifully)
Cocoa Swaps That Actually Work
Ran out of cocoa powder? No panic—we improvise:
- Matcha powder (use 2 tablespoons instead of cocoa for a green tea twist—my hipster niece’s favorite)
- Instant coffee granules (just 1 teaspoon dissolved in the water makes it mocha magic)
- Peanut butter powder (half cocoa, half PB powder for Reese’s vibes)
Flavor Boosters That Change the Game
One extra ingredient can take this from basic to “wow”:
- Swap vanilla for almond extract (just 1/2 teaspoon—it’s potent!)
- Add orange zest to the batter (chocolate + orange = heaven)
- Stir in a pinch of cinnamon for Mexican hot chocolate vibes
The best part? These variations still keep it dessert facile et rapide—no extra steps, no fancy techniques. Just dump, stir, and bake like usual. Honestly, I’ve never managed to mess any of these up, and that’s saying something!
Serving and Storing Dessert Facile et Rapide
Here’s my favorite part—getting creative with how you serve this beauty! Sure, you could eat it straight from the pan with a fork (no judgment—I’ve done it), but let me share my go-to ways to dress it up when I’m feeling fancy:
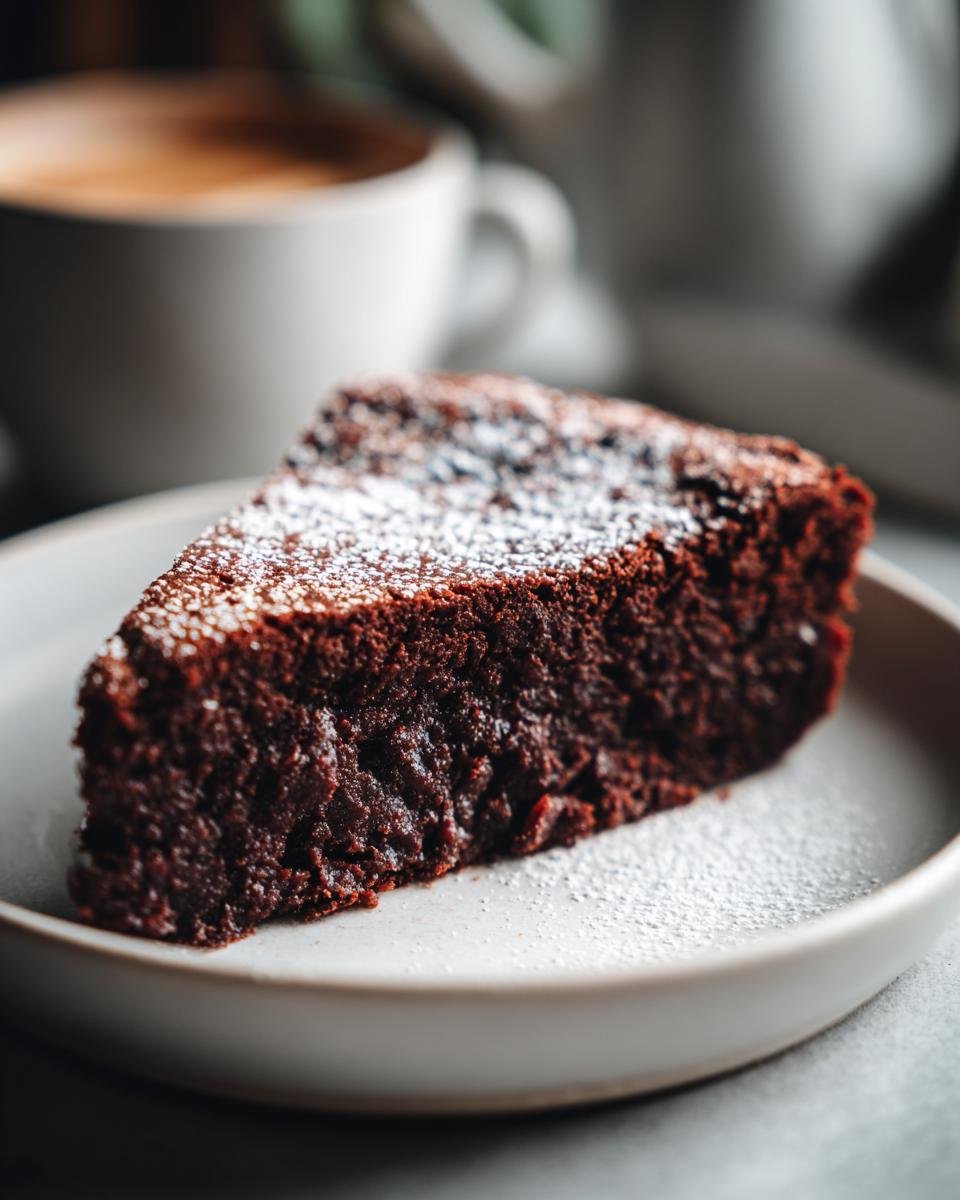
- Still-warm perfection: Scoop it straight from the oven into bowls and top with a big melty scoop of vanilla ice cream. The way the ice cream pools into the cake’s cracks? Pure magic.
- Berry blast: Toss whatever berries you have (even frozen ones!) with a sprinkle of sugar and let them sit while the cake bakes. The juices make their own sauce—zero extra work.
- Whipped cream cloud: My lazy hack? Use the canned stuff but add a splash of vanilla and a pinch of cocoa powder before spraying. Instant “gourmet” touch!
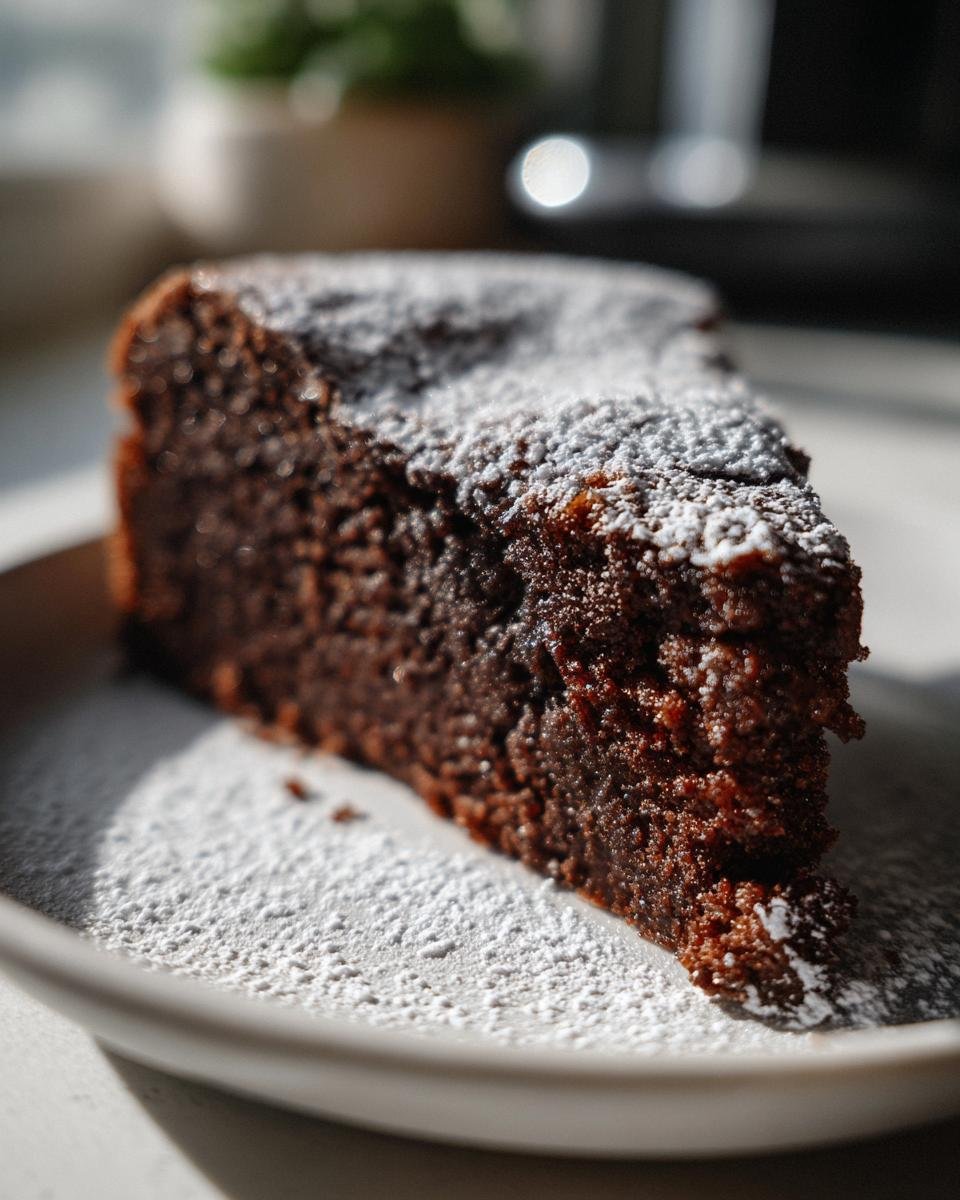
- Powdered sugar snow: For those “I literally can’t even” nights, just sift powdered sugar over the top. It hides any imperfections and looks effortlessly chic.
Now, let’s talk leftovers (if you somehow have any). This cake stays surprisingly moist thanks to that simple ingredient list:
- Room temp: Cover the baking dish with foil or transfer slices to an airtight container—it’ll stay fresh for 2 days max on the counter.
- Fridge life: If your kitchen runs hot, pop it in the fridge for up to 4 days. Microwave slices for 10 seconds to bring back that fresh-baked feel.
- Freezer friend: Wrap individual portions tightly in plastic, then foil. They’ll keep for 2 months—perfect for future you’s emergency chocolate cravings.
Pro tip: The cake actually gets fudgier overnight as the flavors meld. I sometimes bake it in the morning so it’s at peak deliciousness by dessert time. But let’s be real—mine rarely makes it past the first hour!
Nutritional Information
Here’s the breakdown for one slice of this dessert facile et rapide. Keep in mind, these values are just estimates and can vary depending on the exact ingredients you use. But hey, it’s dessert—let’s not overthink it too much, right?
- Serving size: 1 slice (about 1/6 of the cake)
- Calories: 180
- Sugar: 12g
- Sodium: 120mg
- Fat: 8g (1g saturated, 6g unsaturated)
- Carbohydrates: 25g
- Fiber: 2g
- Protein: 2g
Now, if you’re feeling extra, adding toppings like whipped cream or ice cream will bump up those numbers—but who’s counting when it’s this good? Remember, moderation is key, but so is enjoying every single bite.
Note: Nutritional values are estimates and vary based on ingredients used.
Common Questions About Dessert Facile et Rapide
I’ve gotten so many questions about this recipe over the years—some from friends, some from my own kitchen fails (we all have them!). Here are the answers to everything you might wonder before diving in:
Can I use milk instead of water?
Absolutely! Whole milk makes it extra rich, while almond milk keeps it dairy-free. Just don’t use buttermilk—the acidity reacts weirdly with the baking powder. My grandma swore by using coffee instead of water for deeper flavor, and honestly? She was onto something.
How do I know when it’s done baking?
The toothpick test is your best friend here. Stick it in the center—if it comes out with a few moist crumbs clinging to it, you’re golden. If it’s wet, give it another 3 minutes. But watch closely! Overbaking turns this from moist to dry real quick. The edges should pull slightly away from the pan too.
Why did my cake sink in the middle?
Oh no! This usually happens if you open the oven door too early (I know, it’s tempting!) or if your baking powder’s past its prime. Next time, wait until at least 18 minutes before peeking, and test your baking powder by mixing 1/2 tsp with hot water—it should bubble like crazy.
Can I make this gluten-free?
Yep! Swap the all-purpose flour for your favorite 1:1 gluten-free blend. I’ve had great results with Bob’s Red Mill. The texture might be slightly denser, but still delicious. Just don’t use almond flour alone—it won’t hold together right.
What’s the best way to store leftovers?
If it lasts more than a day (ha!), cover the pan tightly with foil or transfer slices to an airtight container. Room temp is fine for 2 days, fridge for 4. Pro tip: Microwave cold slices for 10 seconds to revive that fresh-baked magic.
Ready to Try This Dessert Facile et Rapide?
Alright, my fellow lazy bakers—the moment of truth! Once you’ve tasted this ridiculously easy chocolate magic (and licked the spoon clean, obviously), I’d love to hear how it turned out for you. Did you go classic or try one of the funky variations? Forget fancy food photography—snap a pic of your slightly messy, imperfect-but-delicious slice and tag me. Those real kitchen moments are my favorite.
Better yet, leave a quick rating if you made it. One star if it somehow failed (impossible!), five stars if it saved your dessert emergency like it’s saved mine approximately 87 times. And if you discover some genius new twist? Share it in the comments—we’re all about dessert hacks here. Now go preheat that oven—your future self will thank you when that chocolate craving hits at 10pm!
Print
Dessert Facile et Rapide: 5-Minute Bliss in 30 Minutes
A quick and easy dessert recipe that requires minimal ingredients and effort.
- Total Time: 30 mins
- Yield: 6 servings 1x
Ingredients
- 1 cup all-purpose flour
- 1/2 cup sugar
- 1/4 cup cocoa powder
- 1/4 teaspoon salt
- 1/2 teaspoon baking powder
- 1/4 cup vegetable oil
- 1 teaspoon vanilla extract
- 1 cup water
Instructions
- Preheat your oven to 350°F (175°C).
- Mix flour, sugar, cocoa powder, salt, and baking powder in a bowl.
- Add vegetable oil, vanilla extract, and water. Stir until smooth.
- Pour the batter into a greased baking dish.
- Bake for 20-25 minutes or until a toothpick comes out clean.
- Let it cool before serving.
Notes
- You can top with powdered sugar or whipped cream.
- Store leftovers in an airtight container for up to 3 days.
- Prep Time: 5 mins
- Cook Time: 25 mins
- Category: Dessert
- Method: Baking
- Cuisine: International
- Diet: Vegetarian
Nutrition
- Serving Size: 1 slice
- Calories: 180
- Sugar: 12g
- Sodium: 120mg
- Fat: 8g
- Saturated Fat: 1g
- Unsaturated Fat: 6g
- Trans Fat: 0g
- Carbohydrates: 25g
- Fiber: 2g
- Protein: 2g
- Cholesterol: 0mg
Keywords: easy dessert, quick dessert, simple dessert, chocolate dessert