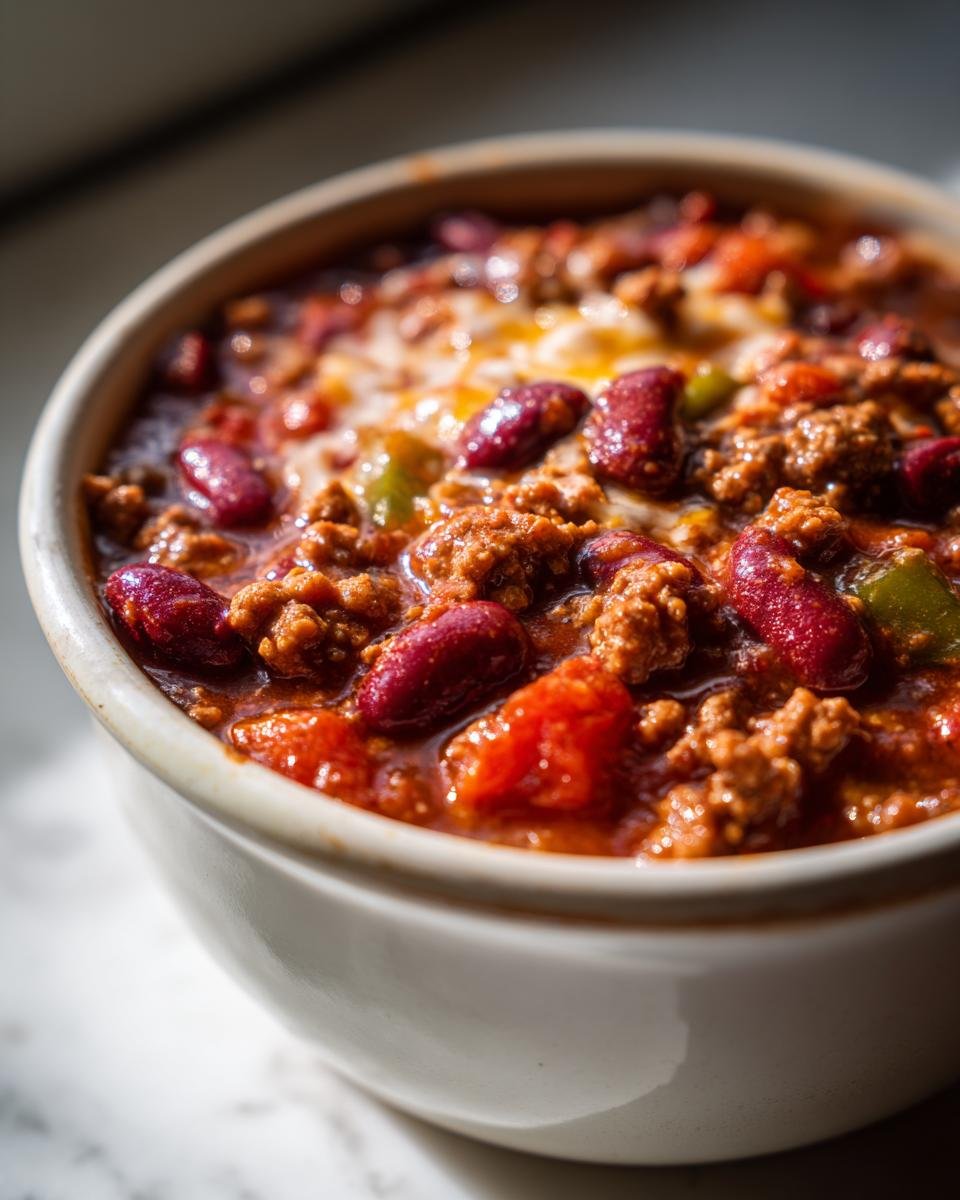
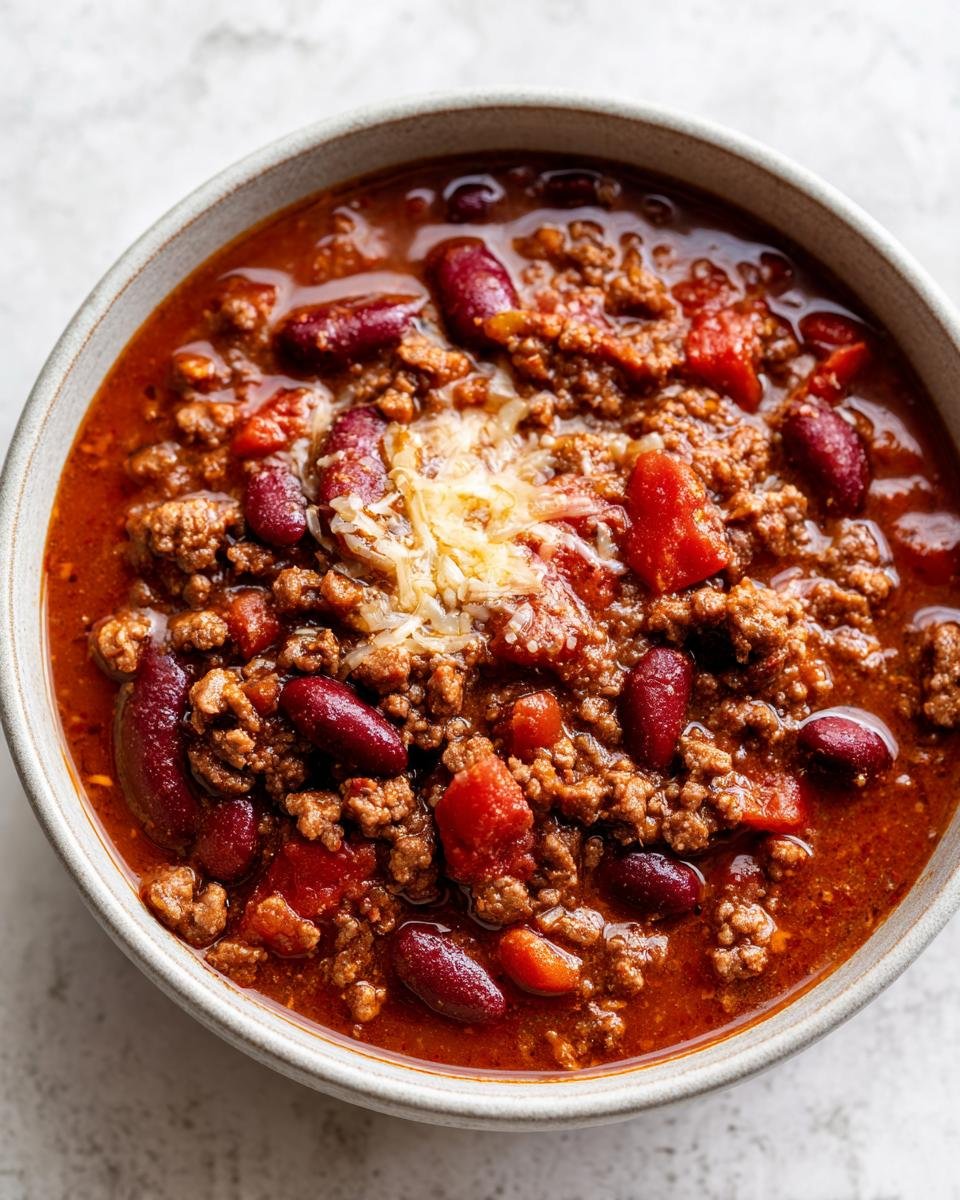
There’s nothing like a steaming bowl of classic chili to power through your day. I’ve been making this 30-minute version for years – it’s my go-to when I need something hearty, satisfying, and fast. The secret? A perfect balance of spices, quality beef, and those little tricks I’ve picked up from making it every Tuesday for my hungry construction-worker husband (who swears it’s better than any diner version). What makes this chili bowl special isn’t just how quick it comes together, but how the flavors develop in that short cook time. You get rich, meaty goodness with just enough kick to wake up your taste buds – perfect for when lunchtime can’t come soon enough.
Why You’ll Love This Classic Chili Bowl
Trust me, this chili bowl is a game-changer for busy days. Here’s why you’ll keep coming back to it:
- Quick & Easy: Ready in under 30 minutes – perfect for when you’re short on time.
- Hearty & Filling: Packed with protein and flavor to keep you satisfied all afternoon.
- Customizable: Add your favorite toppings or adjust the spice level to suit your taste.
- Meal Prep Friendly: Makes great leftovers for lunches throughout the week.
- Family Favorite: Even picky eaters can’t resist this comforting bowl of goodness.
Ingredients for Your Classic Chili Bowl
Grab these simple ingredients – I bet most are already in your pantry! The beauty of this chili is how these basics transform into something magical:
- 1 lb ground beef: The hearty base (80/20 blend gives perfect richness)
- 1 onion, chopped: Yellow or white – whatever’s hanging around
- 2 cloves garlic, minced: Fresh is best, but hey, I’ve used jarred in a pinch
- 1 can (15 oz) kidney beans: Drained and rinsed – no bean juice here
- 1 can (15 oz) diced tomatoes: Juice included – that’s liquid gold
- 1 tbsp chili powder: My secret weapon
- 1 tsp cumin: That earthy depth
- 1/2 tsp salt & black pepper: Taste and adjust!
- 1 cup beef broth: Better than bouillon works wonders
How to Make a Classic Chili Bowl in Under 30 Minutes
Alright, let’s get cooking! The best part? You don’t need any fancy equipment—just one big pot and a wooden spoon. Here’s how I make magic happen in under half an hour:
First things first: Grab your largest pot (I use my trusty Dutch oven) and crank that burner to medium-high heat. You want it nice and hot before adding your beef—this ensures a good sear and locks in flavor. Brown that pound of ground beef, breaking it up with your spoon as you go. Don’t rush this part! Those crispy, caramelized bits are flavor gold.
Next up: Add your chopped onion and minced garlic right into the beef goodness. Stir them around until they soften—about 3 minutes should do it. The smell at this point? Heavenly. Now dump in those kidney beans (drained!), diced tomatoes with their juice, and all your spices. Give it a good stir—don’t be shy!
Final stretch: Pour in that beef broth and bring everything to a lively simmer. Here’s where patience pays off—let it bubble away uncovered for 15-20 minutes, stirring occasionally. You’ll know it’s done when the liquid reduces slightly and the flavors come together beautifully. Taste and adjust salt if needed—I always sneak an extra pinch!
Pro tip: If your chili seems too thin, just let it simmer a few extra minutes. Too thick? Splash in a bit more broth. Easy peasy!
Tips for Perfecting Your Classic Chili Bowl
After making this chili weekly for years (seriously, my family won’t let me skip it), I’ve learned all the little tricks to make it foolproof:
- Brown that beef right: Don’t crowd the pan – cook in batches if needed for proper caramelization
- Spice to your life: Start with half the chili powder if you’re sensitive, then add more at the end
- Fresh is best: Minced garlic from a jar works, but fresh makes the flavor sing
- Low and slow simmer: Those last 15 minutes of simmering are magic – don’t rush them!
- Taste as you go: The salt level always needs adjusting – trust your tongue, not just the recipe
And my golden rule? Always make extra – this chili tastes even better the next day!
Ingredient Notes and Substitutions for Your Classic Chili Bowl
Here’s the beautiful thing about chili – it’s forgiving! Over the years I’ve swapped ingredients based on what’s in my fridge, and it still turns out delicious every time. Some of my favorite tweaks:
- Ground beef: Swap for turkey, chicken, or plant-based crumbles – just adjust cooking time accordingly
- Kidney beans: Black beans or pinto beans work just as well in a pinch
- Want more heat? Add 1/4 tsp cayenne or a diced jalapeño with the onions
- No beef broth? Chicken or veggie broth does the job nicely
- Extra veggies: Toss in diced bell peppers or carrots when sautéing onions
See? Chili is whatever you need it to be that day!
Serving Suggestions for Your Classic Chili Bowl
Now for the fun part – dressing up your chili bowl! Here’s how I love to serve mine:
- The Classics: Shredded cheddar cheese, a dollop of sour cream, and chopped green onions
- Crunch Factor: Crushed tortilla chips or oyster crackers for texture
- On the Side: Warm cornbread or buttered toast for dipping
- Fresh Touch: Sliced avocado or a squeeze of lime brightens everything up
- Extra Heat: Diced jalapeños or a dash of hot sauce for spice lovers
My husband piles everything on top, while I prefer mine simple – just cheese and a sprinkle of cilantro. However you top it, dig in while it’s hot!
Storage and Reheating Instructions for Your Classic Chili Bowl
Chili leftovers? Even better! Let it cool completely, then store in an airtight container in the fridge for up to 4 days. When you’re ready to eat, reheat it on the stove over medium heat, stirring occasionally. Need to freeze? Portion into freezer-safe bags or containers—it keeps beautifully for up to 3 months. Just thaw overnight in the fridge and reheat for a quick, satisfying meal. Trust me, it tastes just as good the second (or third!) time around!
Nutritional Information for Your Classic Chili Bowl
Just a heads up – nutritional values can vary depending on your specific ingredients and brands. This hearty bowl packs protein, fiber, and flavor, but for exact numbers, check your package labels or use a nutrition calculator. My family focuses more on how delicious it tastes than counting calories anyway!
FAQ About Making a Classic Chili Bowl
I get asked about this chili recipe all the time – here are the questions that come up most often in my kitchen (and how I answer them!):
Can I use ground turkey instead of beef?
Absolutely! I do this all the time for a lighter version. Just add an extra tablespoon of olive oil when browning since turkey’s leaner. The flavor’s slightly different but still delicious.
How spicy is this chili?
It’s got a nice warmth but won’t burn your tongue off. Start with 1/2 tablespoon chili powder if you’re nervous – you can always add more at the end. My cousin adds a pinch of cayenne for extra kick!
Can I make this in a slow cooker?
Sure thing! Brown the beef first (trust me, this step matters), then dump everything in your crockpot on LOW for 4-5 hours. The longer cook time makes the flavors even richer.
Why does my chili look watery?
No worries – just let it simmer uncovered a bit longer. The liquid will reduce. If you’re really in a hurry, mix 1 teaspoon cornstarch with 2 tablespoons cold water and stir it in.
Can I freeze leftovers?
This chili freezes like a dream! I portion it into individual containers for quick lunches. Thaw overnight in the fridge or microwave straight from frozen (just stir well while reheating).

Classic Chili Bowl: Hearty 30-Minute Comfort Food Bliss
A classic chili bowl is a quick, hearty lunch option ready in under 30 minutes. Packed with protein and flavor, it’s perfect for a satisfying meal.
- Total Time: 30 minutes
- Yield: 4 servings 1x
Ingredients
- 1 lb ground beef
- 1 onion, chopped
- 2 cloves garlic, minced
- 1 can (15 oz) kidney beans, drained
- 1 can (15 oz) diced tomatoes
- 1 tbsp chili powder
- 1 tsp cumin
- 1/2 tsp salt
- 1/2 tsp black pepper
- 1 cup beef broth
Instructions
- Brown the ground beef in a large pot over medium heat.
- Add chopped onion and minced garlic, cook until softened.
- Stir in kidney beans, diced tomatoes, chili powder, cumin, salt, and pepper.
- Pour in beef broth and bring to a simmer.
- Cook for 15-20 minutes, stirring occasionally.
- Serve hot with optional toppings like shredded cheese or sour cream.
Notes
- For a spicier chili, add a pinch of cayenne pepper.
- Substitute ground turkey for a lighter option.
- Freeze leftovers for quick meals later.
- Prep Time: 10 minutes
- Cook Time: 20 minutes
- Category: Lunch
- Method: Stovetop
- Cuisine: American
- Diet: Low Lactose
Nutrition
- Serving Size: 1 bowl
- Calories: 350
- Sugar: 5g
- Sodium: 800mg
- Fat: 15g
- Saturated Fat: 5g
- Unsaturated Fat: 8g
- Trans Fat: 0g
- Carbohydrates: 25g
- Fiber: 7g
- Protein: 25g
- Cholesterol: 70mg
Keywords: classic chili, quick lunch, beef chili, 30-minute meal